A 2-Day Pretty In Peach Laundry Room Makeover!
This post is sponsored by Lowe’s. Scott and I absolutely love taking on quick makeovers – we live for the satisfaction of flipping a space on its head! – and we’re all ears when our friends have problem areas in their homes that they’re looking to improve upon. Most recently, we completely transformed our neighbors’ […]
The post A 2-Day Pretty In Peach Laundry Room Makeover! appeared first on Yellow Brick Home.
To this!
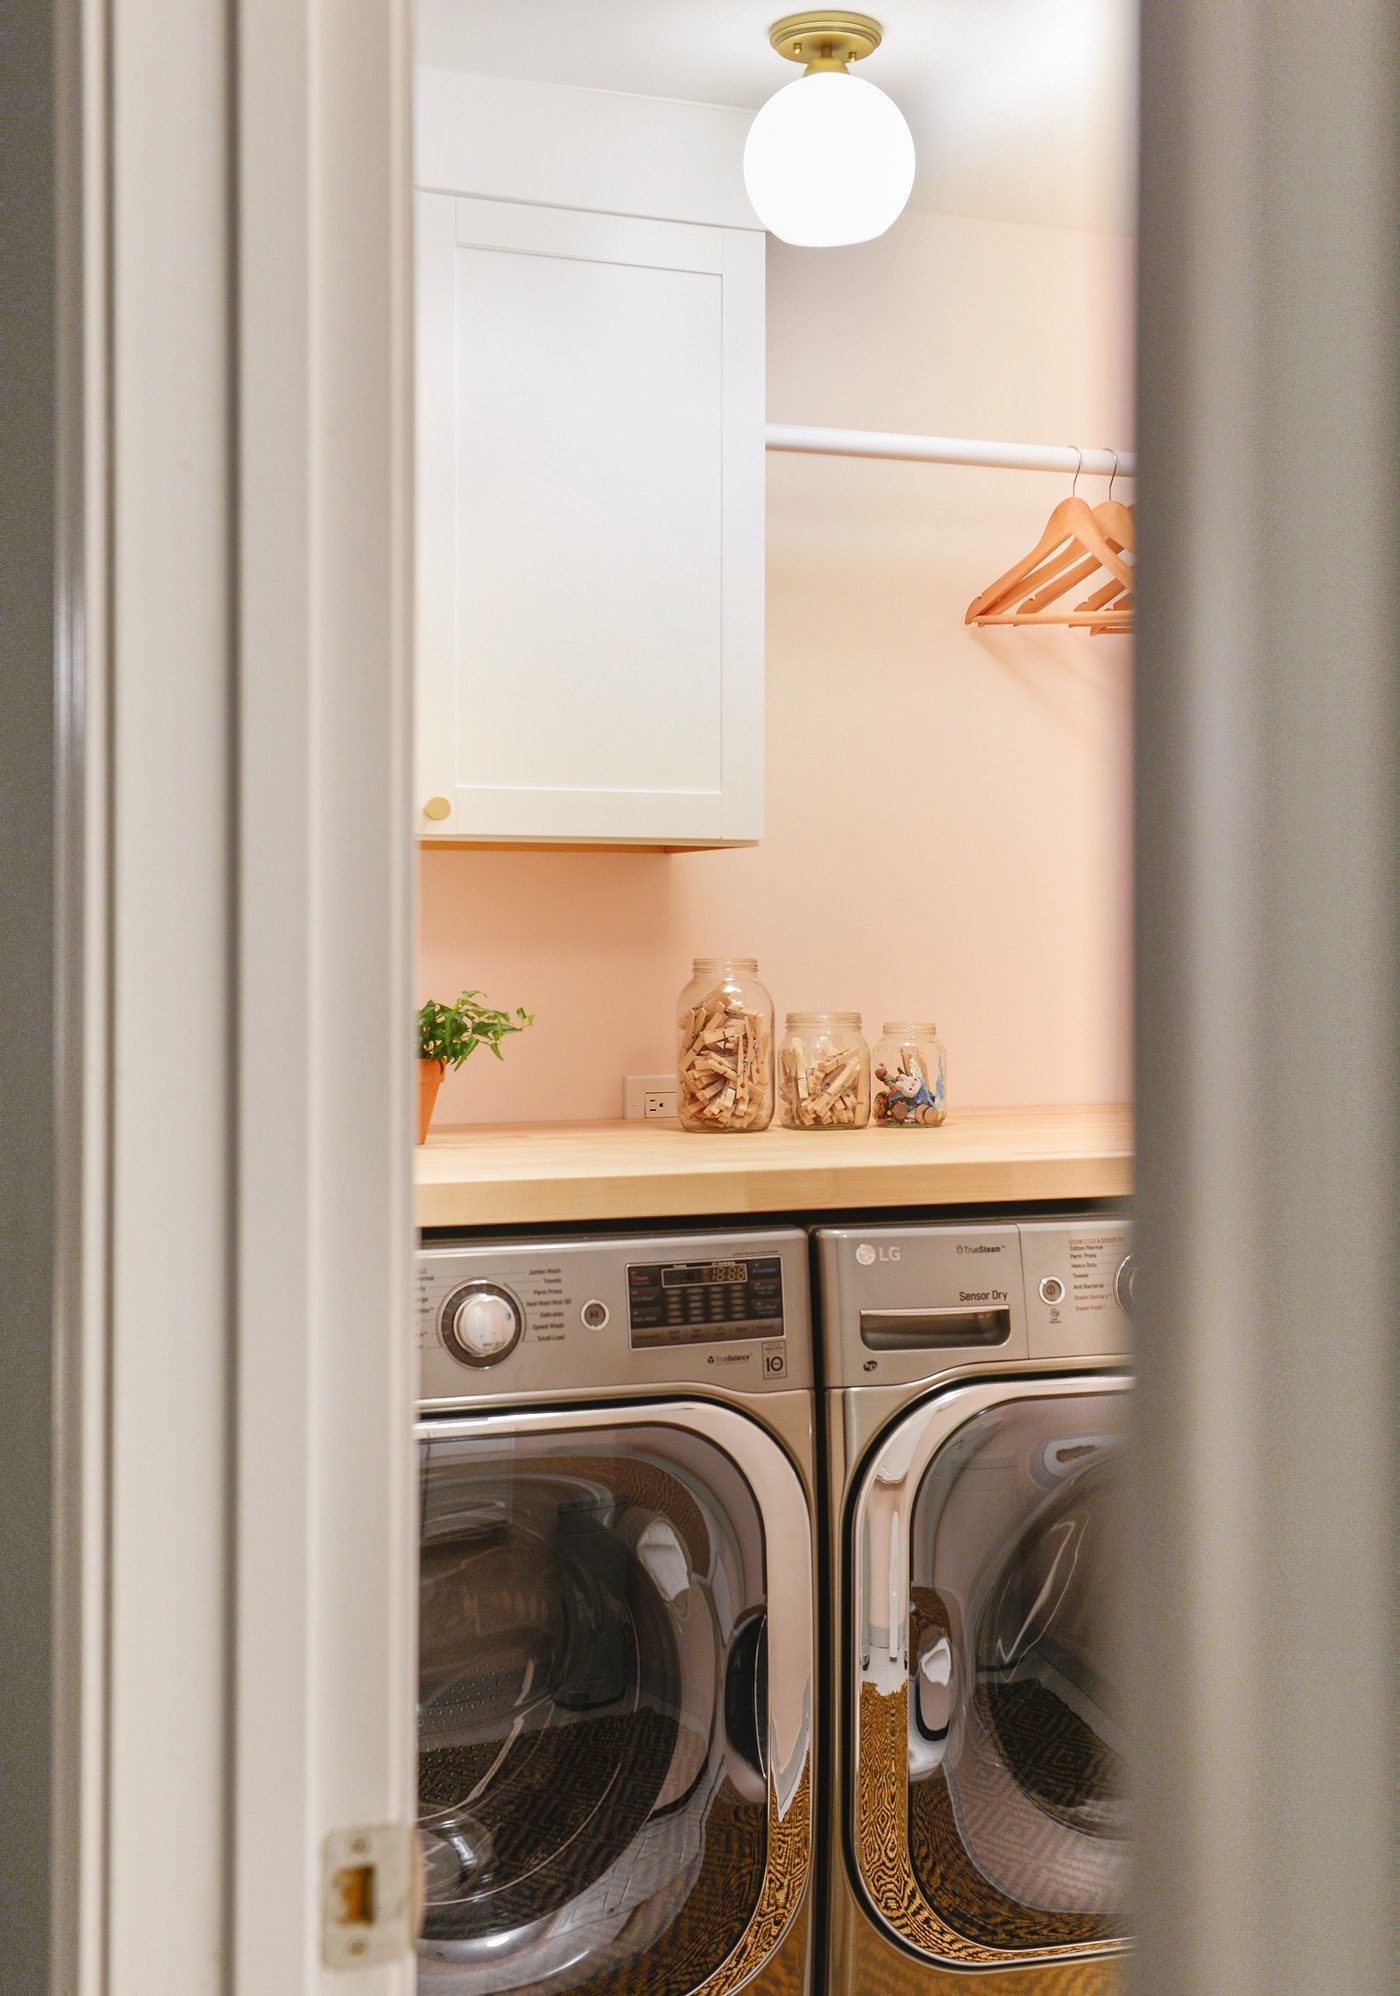
Laundry Room | After
When Scott and I took over, our first task was shifting the machines into place, getting them tucked as close to the back wall as possible. We moved them to the right and then to the left, measuring the distances in every direction twice and then thrice, ensuring we were completely satisfied with their placement. Then it was time to tackle the countertop! We used this 6′ Baltic Butcher Block Birch Countertop (so hunky and beautiful!) and trimmed it down to the proper width and depth with our circular saw. I quickly smoothed the rough edges with a quick sand using fine grit sandpaper. Tip: Measure the wall in 3 places, front to back and side to side. Take the smallest measurement from side to side and the longest measurement front to back for the best overall fit.
After setting the countertop into place (which was honestly a workout in itself, yow!), Scott secured the brackets from the bottom of the butcher block using shallow wood screws. The brackets were slightly visible to the right ...
The post A 2-Day Pretty In Peach Laundry Room Makeover! appeared first on Yellow Brick Home.
To this!
Laundry Room | After
When Scott and I took over, our first task was shifting the machines into place, getting them tucked as close to the back wall as possible. We moved them to the right and then to the left, measuring the distances in every direction twice and then thrice, ensuring we were completely satisfied with their placement. Then it was time to tackle the countertop! We used this 6′ Baltic Butcher Block Birch Countertop (so hunky and beautiful!) and trimmed it down to the proper width and depth with our circular saw. I quickly smoothed the rough edges with a quick sand using fine grit sandpaper. Tip: Measure the wall in 3 places, front to back and side to side. Take the smallest measurement from side to side and the longest measurement front to back for the best overall fit.
After setting the countertop into place (which was honestly a workout in itself, yow!), Scott secured the brackets from the bottom of the butcher block using shallow wood screws. The brackets were slightly visible to the right ...
Source:
yellowbrickhome
URL:
http://www.yellowbrickhome.com/
| -------------------------------- |
|
|
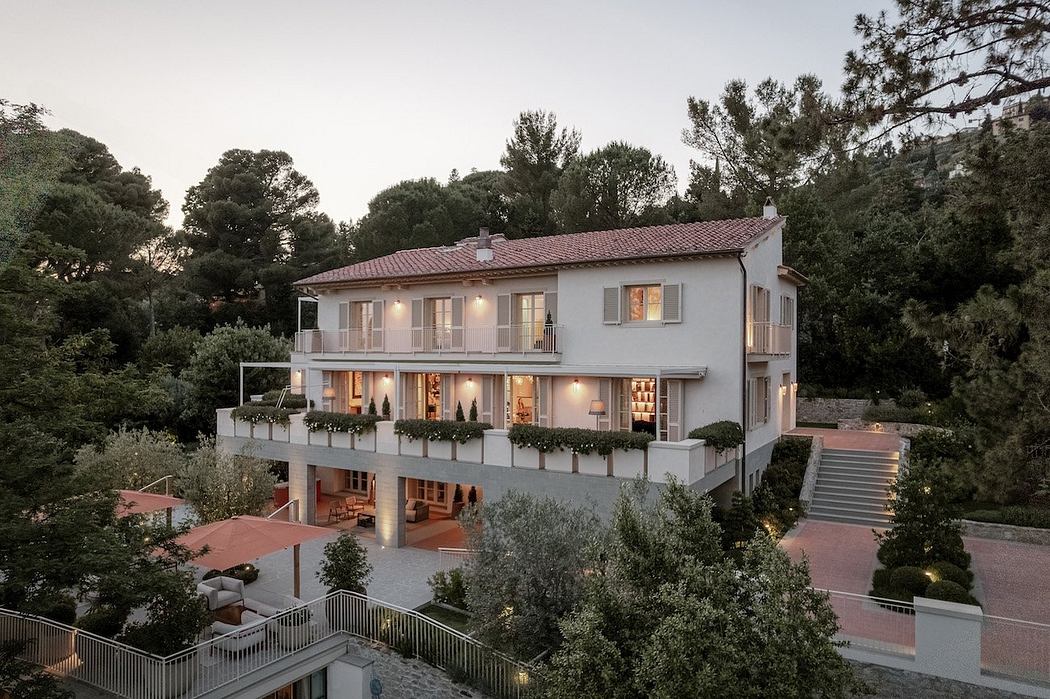
Villa M by Pierattelli Architetture Modernizes 1950s Florence Estate
31-10-2024 03:55 - (
architecture )